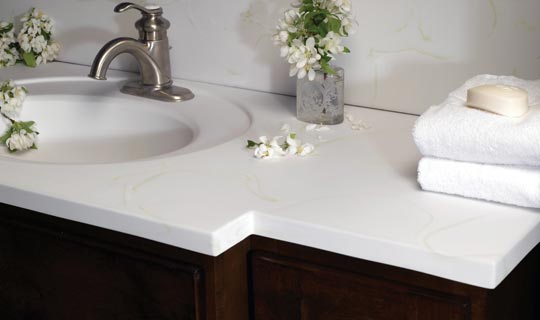
Cultured marble sinks are durable, but occasional scratches and chips can occur over time. Fortunately, repairing these imperfections is a straightforward process that can restore your sink’s appearance. Here’s a step-by-step guide on how to repair scratches and chips in a cultured marble sink effectively.
Materials You’ll Need
- Cultured Marble Repair Kit: Available at hardware stores or online, these kits typically include epoxy or acrylic-based repair compounds matched to cultured marble colors.
- Fine-Grit Sandpaper (400-600 grit): For smoothing surfaces and blending repairs.
- Clean Cloths
- Rubbing Alcohol or Acetone: For cleaning and preparing the repair area.
- Masking Tape: To protect surrounding areas during repair.
Step-by-Step Repair Process
1. Clean the Area
- Use rubbing alcohol or acetone and a clean cloth to thoroughly clean the scratched or chipped area. Ensure the surface is dry before proceeding.
2. Prepare the Repair Compound
- Follow the instructions on your cultured marble repair kit to prepare the epoxy or acrylic-based repair compound. Mix the components thoroughly if required.
3. Apply the Repair Compound
- Using a small spatula or putty knife, carefully apply the repair compound to fill the scratch or chip. Build up the compound slightly above the surface level to allow for sanding down later.
4. Smooth and Blend
- While the repair compound is still pliable (check the kit’s instructions for timing), use fine-grit sandpaper (400-600 grit) to smooth the repaired area. Blend the edges of the repair into the surrounding cultured marble for a seamless finish.
5. Let It Cure
- Allow the repair compound to cure completely as per the manufacturer’s instructions. This typically takes a few hours or overnight depending on the product used.
6. Final Sanding (if needed)
- Once cured, lightly sand the repaired area again with fine-grit sandpaper to ensure a smooth finish. Wipe away any dust with a clean cloth.
7. Polish (Optional)
- If desired, apply a cultured marble polish according to the product’s instructions to restore shine to the repaired area and blend it with the rest of the sink.
8. Clean Up
- Remove any masking tape and clean the entire sink surface with mild soap and water to remove any remaining residue.
Tips for Success
- Color Matching: Ensure the repair compound matches the color of your cultured marble sink to achieve a seamless blend.
- Practice Patience: Follow curing times carefully to allow the repair compound to set properly.
- Avoid Harsh Cleaners: After repair, use mild cleaners to maintain the repaired area and prevent future damage.
When to Seek Professional Help
- For extensive damage or if you’re unsure about DIY repairs, consider contacting a professional who specializes in cultured marble repair.
By following these steps, you can effectively repair scratches and chips in your cultured marble sink, restoring its appearance and extending its lifespan with minimal effort.