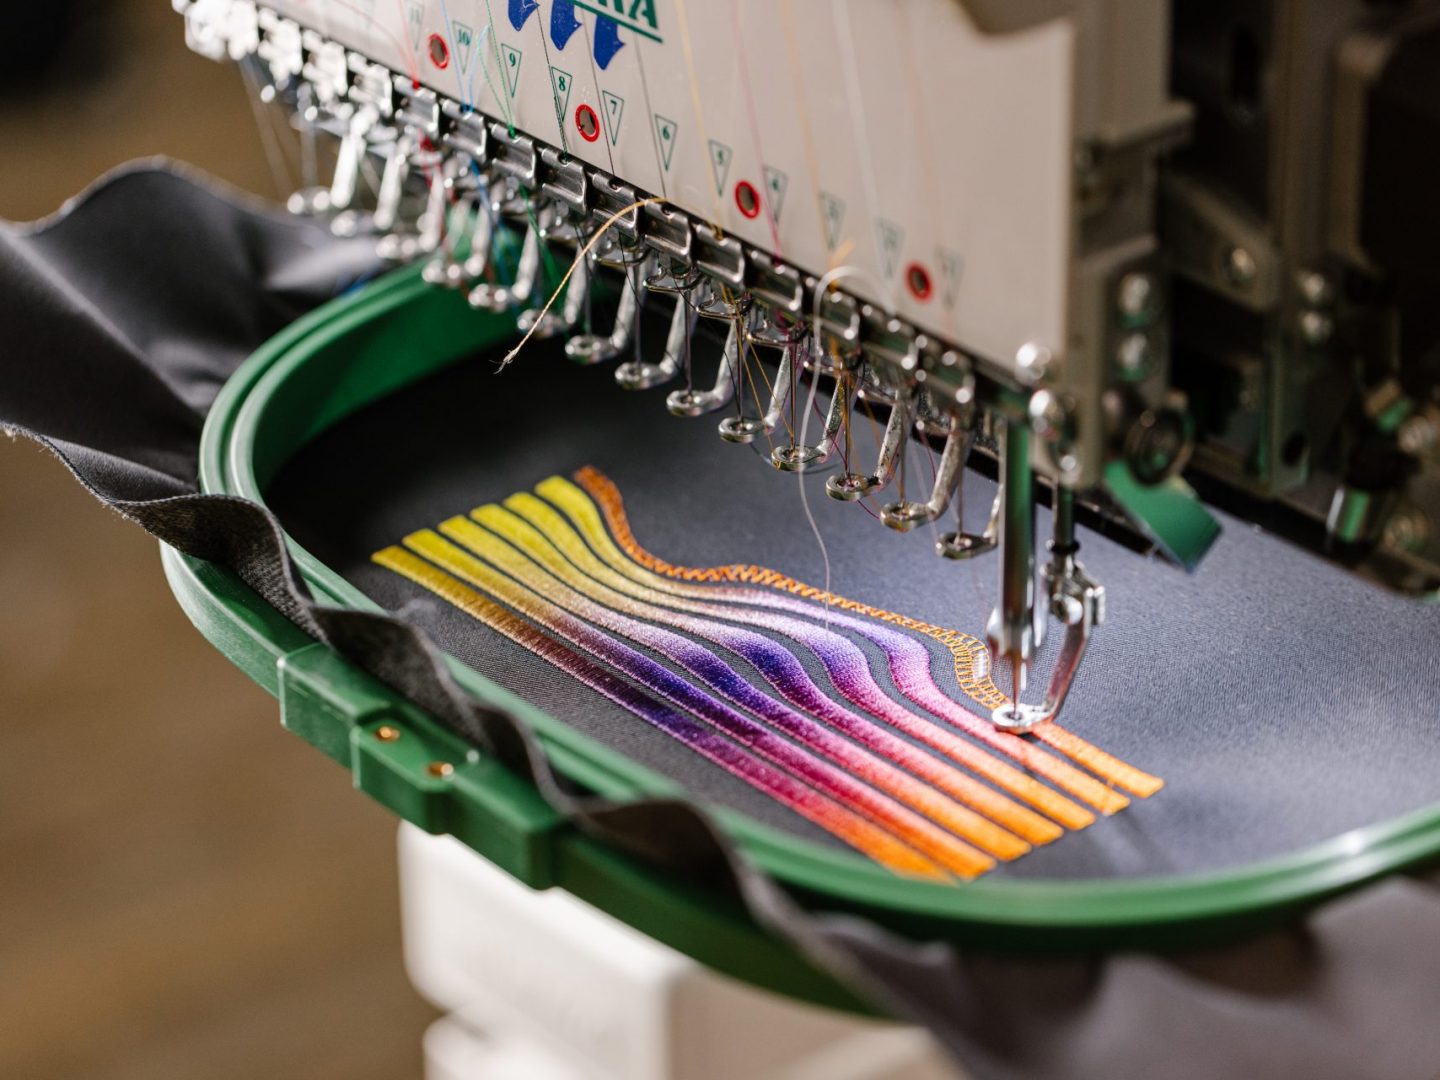
Maintaining your embroidery machine is essential for producing high-quality designs and extending the life of your equipment. Regular upkeep ensures smooth operation, reduces wear, and minimizes costly repairs. Here’s a comprehensive checklist to keep your embroidery machine in optimal condition.
1. Clean the Bobbin Area Regularly
Lint and thread fragments often accumulate in the bobbin area, impacting stitch quality and causing jams. After each project, remove the bobbin cover and use a small brush or a lint-free cloth to carefully clean the bobbin area. Avoid using compressed air, as it can push debris further into the machine.
2. Check and Replace Needles Frequently
Needles dull or bend over time, affecting stitch precision and potentially damaging fabrics. Replace needles every few projects or sooner if you notice skipped stitches or fabric snags. Using fresh needles enhances stitch quality and reduces strain on your machine.
3. Lubricate Moving Parts
Lubricating your machine’s moving parts reduces friction, ensuring smooth operation. Refer to your machine’s manual to determine which areas need lubrication and how often, as over-lubricating can attract dust. Apply a drop of oil to specified areas only, and always use machine-approved oils.
4. Tighten and Check Screws
Over time, screws can loosen with the machine’s constant vibration, especially around the hoop attachment and needle plate. Check these screws regularly and tighten them if needed to prevent malfunctions and ensure safe operation.
5. Clean the Tension Discs
Tension discs can collect dust and lint, which may affect thread tension. To clean, ensure the machine is turned off, then gently pull a soft, lint-free cloth through the tension discs. Regular cleaning keeps the tension consistent and prevents stitch irregularities.
6. Inspect the Thread Path
Check the thread path for any knots or obstructions, as these can cause uneven stitching or break the thread. Inspect the thread guide, tensioner, and needle eye, removing any trapped lint or thread fragments. Keeping this area clear helps maintain steady thread flow.
7. Keep the Exterior Clean
Wipe down the exterior of your machine with a soft, dry cloth to prevent dust buildup. Keeping the machine’s surface clean protects its internal components from debris that might enter through any gaps.
8. Schedule Regular Professional Servicing
While basic maintenance can be done at home, scheduling regular servicing by a professional ensures optimal performance. A professional can perform a thorough inspection, deep cleaning, and tune-up. Check with an embroidery machine manufacturer for recommended service intervals and authorized service centers.
9. Store in a Dust-Free Environment
Store your embroidery machine in a dust-free environment or cover it when not in use. Dust and moisture can harm the internal components, so a protective cover helps to keep your machine in top condition and ready for use.
10. Run Test Stitches Before Projects
Before starting a new project, run a test stitch on a scrap piece of fabric. This helps you spot any issues with threading, tension, or stitch quality, allowing you to make adjustments before you start your actual design.
Benefits of Regular Maintenance
Regular machine maintenance not only keeps your machine running smoothly but also extends its lifespan. With consistent upkeep, your machine will perform better, produce cleaner stitches, and reduce the need for repairs. Additionally, proper maintenance ensures that your projects are of the highest quality.
By following this checklist, you can keep your embroidery machine in peak condition, allowing you to enjoy hassle-free, high-quality embroidery for years to come.
